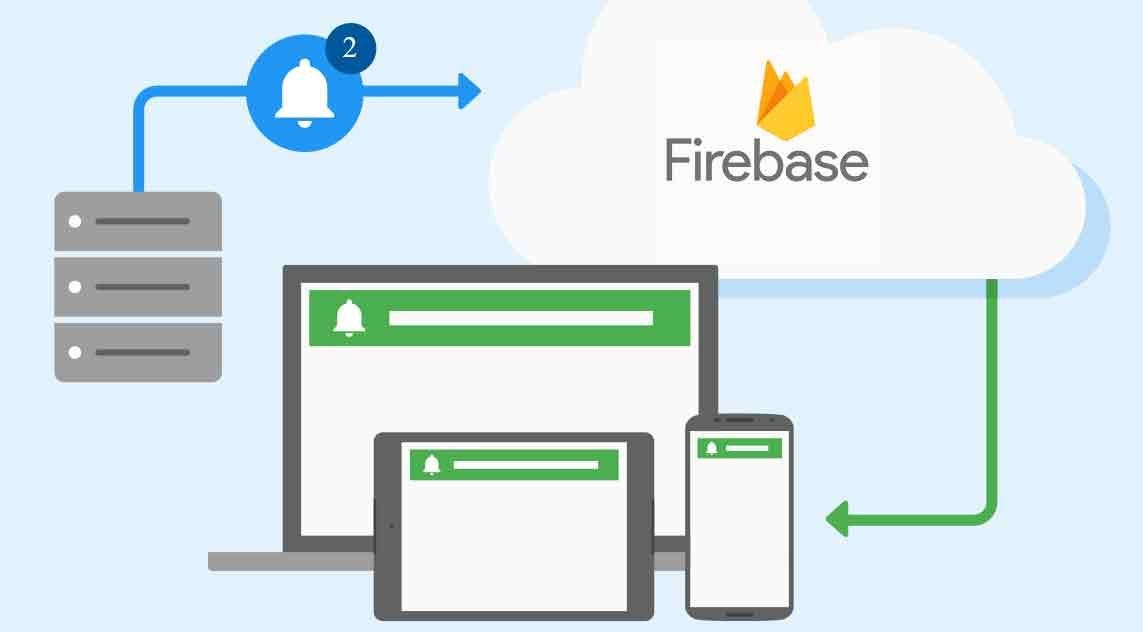
In this article I will explain you how can you enable push notification in your android studio project but if you are a beginner and want to start from scrach then first of all read following articles :
STEPS :
1. Click on Tools > Firebase > Cloud Messaging > Setup Firebase Cloud Messaging > Connect to Firebase
2. After Connecting to Firebase Create a New Java Class with Name "MyFirebaseInstanceIDService" and paste there below code and just 1st line with your package name:
3. Now Create another java class with the name "MyFirebaseMessagingService" and paste there below code except first line or if you paste full then change the first line with your package name :
4. Now Under Gradle Script you Find Build.Gradle (Project : KKN)
Open that and add below code in the dependencies.
5. Now Under Gradle Script you Find Build.Gradle (Module : App)
Open that and add below implementation & Plugin like above image and after that click on sync.
6. Now Almost everything is completed you just have to create two service in manifest file
Add following code in manifest file like the image and then after adding this your project is ready.
So, Now your Project is Completely ready with Firebase Cloud Messaging, Now you Can Send Notification to your App.
Thank You !
- How to Download and Setup Android Studio
- Basics of Android App Development
- Convert a Website into Android Application with Navigation Drawer Layout
- How to enable full screen for embedded video in webview and stop reload on orientation change
To Enable Push Notification follow the below steps :
STEPS :
1. Click on Tools > Firebase > Cloud Messaging > Setup Firebase Cloud Messaging > Connect to Firebase
2. After Connecting to Firebase Create a New Java Class with Name "MyFirebaseInstanceIDService" and paste there below code and just 1st line with your package name:
3. Now Create another java class with the name "MyFirebaseMessagingService" and paste there below code except first line or if you paste full then change the first line with your package name :
4. Now Under Gradle Script you Find Build.Gradle (Project : KKN)
Open that and add below code in the dependencies.
5. Now Under Gradle Script you Find Build.Gradle (Module : App)
Open that and add below implementation & Plugin like above image and after that click on sync.
6. Now Almost everything is completed you just have to create two service in manifest file
Add following code in manifest file like the image and then after adding this your project is ready.
So, Now your Project is Completely ready with Firebase Cloud Messaging, Now you Can Send Notification to your App.
Hope you like my effort, please do comment your feedback
Thank You !


1 Comments
it is working, thank you
ReplyDelete